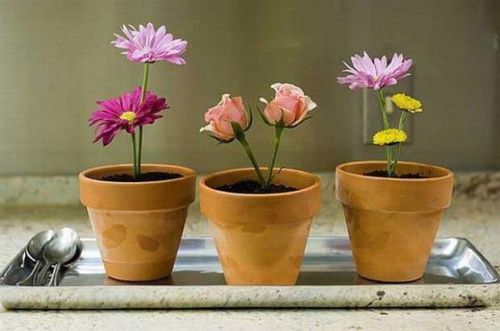
This time we ask you to make your own flower pot with concrete base material. In addition to durable, flower pots from cement can provide a rustic and industrial touch in the corner of your home.
 |
| Box of Flowers |
Choose pot molds
To make your flowerpot creations, you must first prepare two prints. Both of these molds are outer mold and inner mold. The second form of the mold should be exactly the same, but with different sizes. Note that the difference in the size of two prints is not less than 5 cm, as this will affect the thickness of the flowerpot.If you want to make flower pots as high as 60 cm, try to keep the thickness of the flowerpot at least 7.5 cm. High and thick pots are interrelated and affect the pot endurance. You can use various materials for the mold, such as plastic, cardboard, stainless steel, even styrofoam. Choose the most easy to use prints and do not complicate you.
Coating Pot molds
After the mold is ready, coat the mold with mineral oil (gasoline, diesel or kerosene) or spray lubricant. This step will facilitate us when removing the pot from the mold. Better yet, if you use a mold made of glass, because the oil will not be absorbed by the surface.Mixing concrete
Before mixing the concrete, you should protect your hands with special gloves. Then mix the concrete in an unused container or bucket. Crack resistant concrete is the best material for your work flower pot. Can be purchased in the form of instant concrete (already complete with sand, cement, etc.) available in building materials stores.Pour the concrete you need in another container. Add the water little by little until you get the concrete dough according to the instructions of use in the instant concrete packaging. When stirring concrete you can add some elements such as broken glass or rock. But lest the elements you add affect the composition of the concrete dough.
Pour batter into pot mold
Before putting the concrete in the mold, you should place the stones on the bottom of the mold. The goal is as a drainage or a way out for water. You can also do it later after the dough dries and drill the bottom of the flowerpot two to three days after the dough dries.Next, put the dough into the mold. Start with the bottom, then spread the dough with a small shovel. Remember, the bottom of the pot should be thicker than the pot wall. Therefore, the dough at the bottom should be more than in the pot wall portion.
Then insert the remaining concrete into the space between two prints. Press the dough with a shovel to make sure there is no air and the room is completely packed with dough. Do it until the dough meets all the space on the mold.
Let stand
Wrap the mold with plastic and leave it for two days. The way to check if the concrete dough has completely dried is to scratch its surface with a screwdriver or a knife. If the streak is an imprint it means that your concrete pot is not yet dry.Remove the pot mold
Remove the inner mold from the pot slowly. Molds made of cardboard will be more easily removed. The mold from the glass must be solved, if the inside is not coated with mineral oil.After that remove the outer mold. Clean the surface of the pot with a thick furry brush. Leave the pot for a week, and wipe the surface with a damp cloth once every day to make the pot color brighter. Right now you may have imagined what plants are best suited to be placed in your flower pot.


